
Appearance
Install & first login
Install BizSency POS on Windows, connect the database, and complete first-time setup.
Requirements
- Windows 10/11 (64-bit)
- PostgreSQL (full Setup can install it;
-NoPostgresbuilds expect PostgreSQL already on the PC) - Recommended display: 1280×720 or higher
- Admin rights for first install (printers / PostgreSQL)
Install flow
mermaid
flowchart TD
  A[Run Setup EXE] --> B{PostgreSQL present?}
  B -->|No, full installer| C[Install PostgreSQL]
  B -->|Yes or NoPostgres build| D[Install BizSency POS]
  C --> D
  D --> E[Launch from Start Menu]
  E --> F[Login]
  F --> G{Company setup done?}
  G -->|No| H[Company / outlet setup]
  G -->|Yes| I[Dashboard]
H --> I- Run
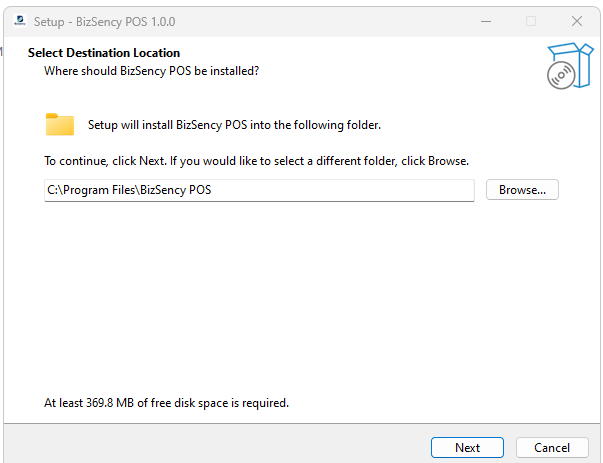
BizSency-POS-Setup-vX.Y.Z.exe(or the-NoPostgreSQLvariant). - Complete the wizard.
- Launch BizSency POS.
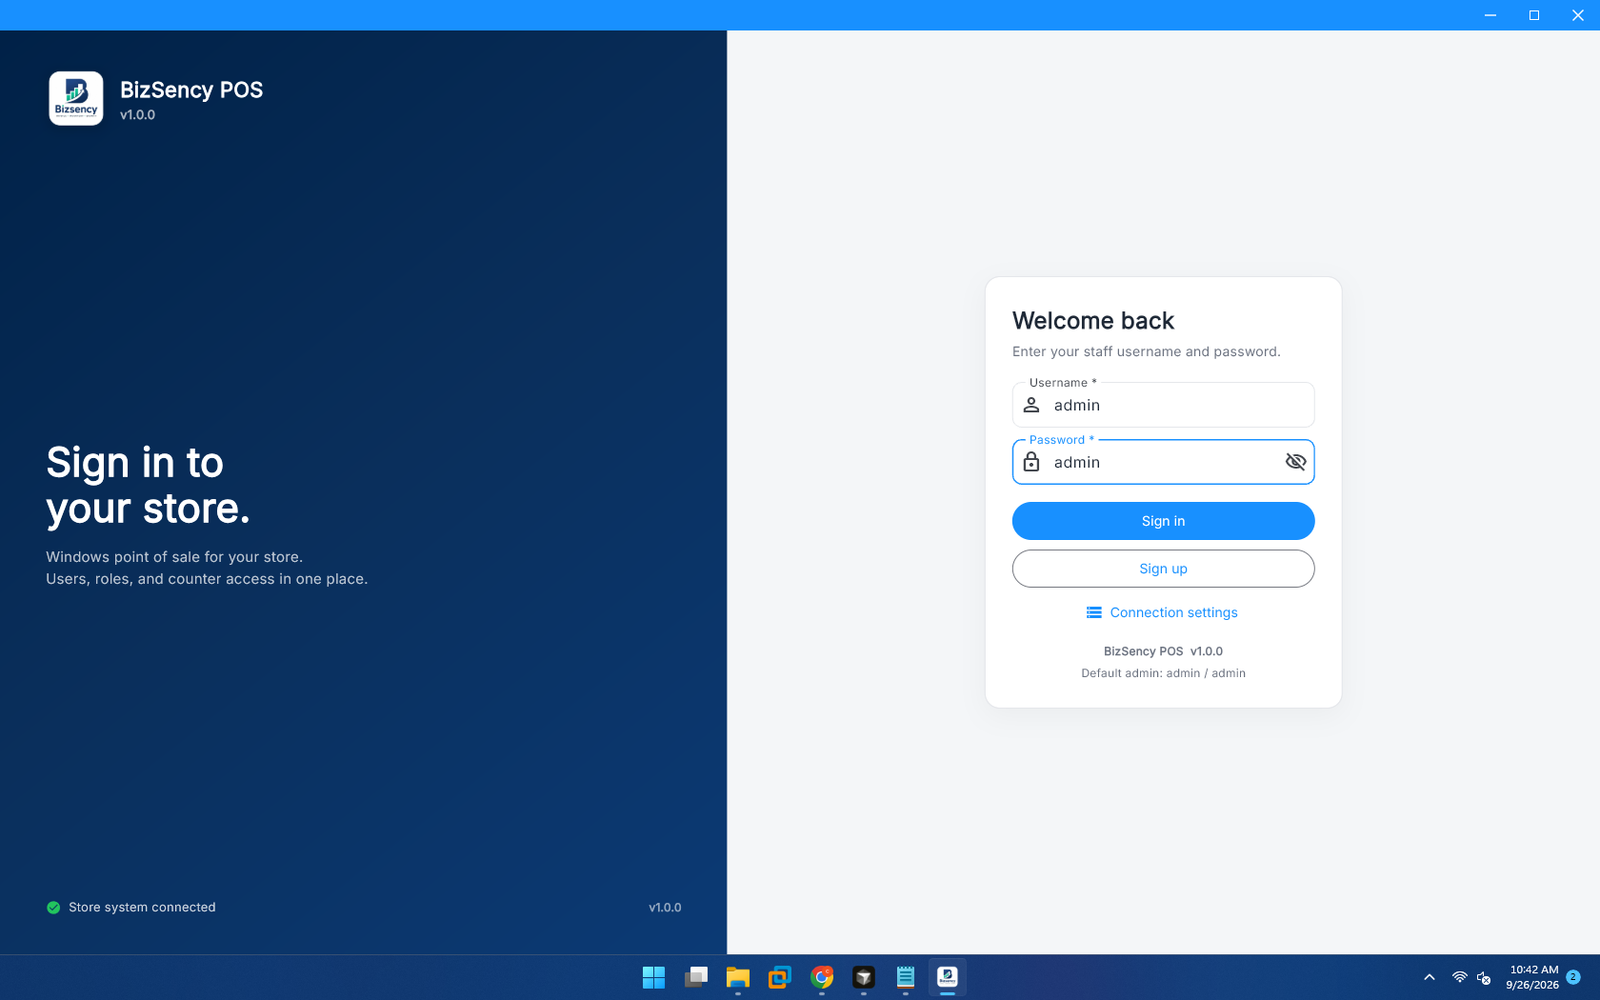
Default login
| Field | Default (change after go-live) |
|---|---|
| Username | admin |
| Password | admin |
- Enter credentials on the login screen.
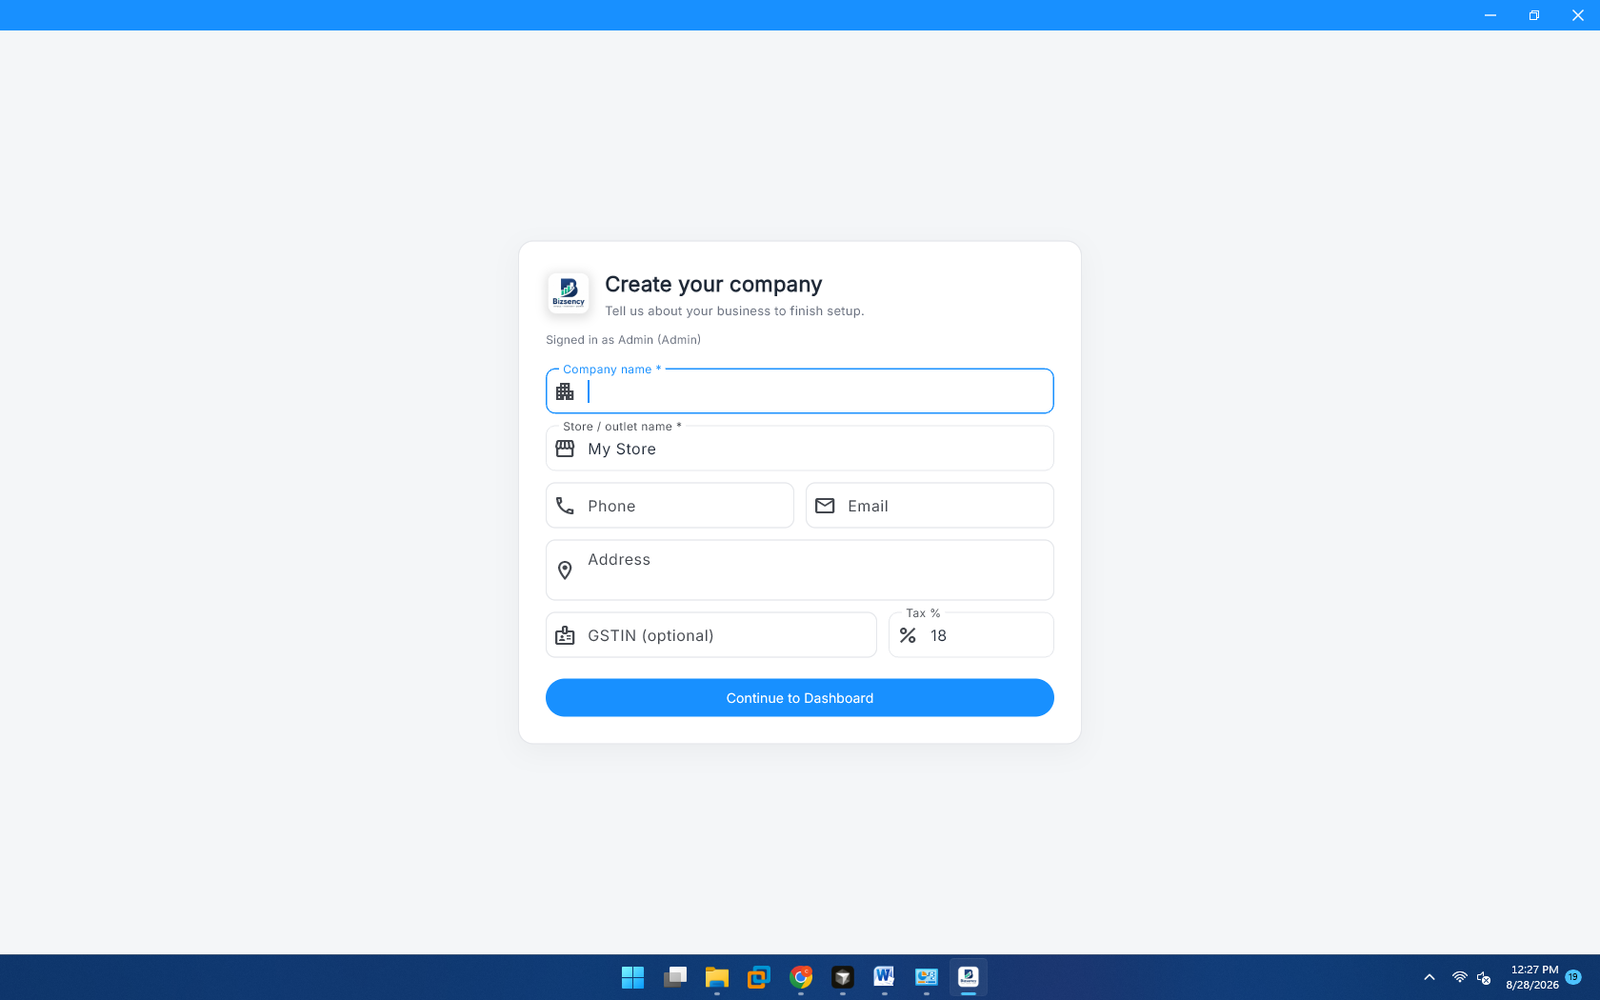
- If prompted, complete company / outlet setup.
- You land on the Dashboard.
First-hour checklist
- Settings → Connection — Test & save PostgreSQL.
- Settings → Country — currency and tax menu (GST vs Tax setup).
- Settings → Outlet & tax — outlet name and default %.
- Settings → Receipt — store name / logo.
- Settings → Devices — printer + scan-to-cart (Devices & printing).
- Settings → Shortcuts — optional (Keyboard shortcuts).
- Users — create cashier accounts (do not share Admin forever).
- Item master — add a few products and test one POS sale.
- Backup — take a first backup after setup.
Full settings detail: Settings & devices.
Status bar & sidebar
- Sidebar footer shows version and Online / Offline.
- Status bar shows outlet, last sync, and clock.
- User manual link in the sidebar / Profile opens this website.
If Offline, fix Connection before selling or reporting.